
Foam Rolling for Back Tension Relief That Actually Works
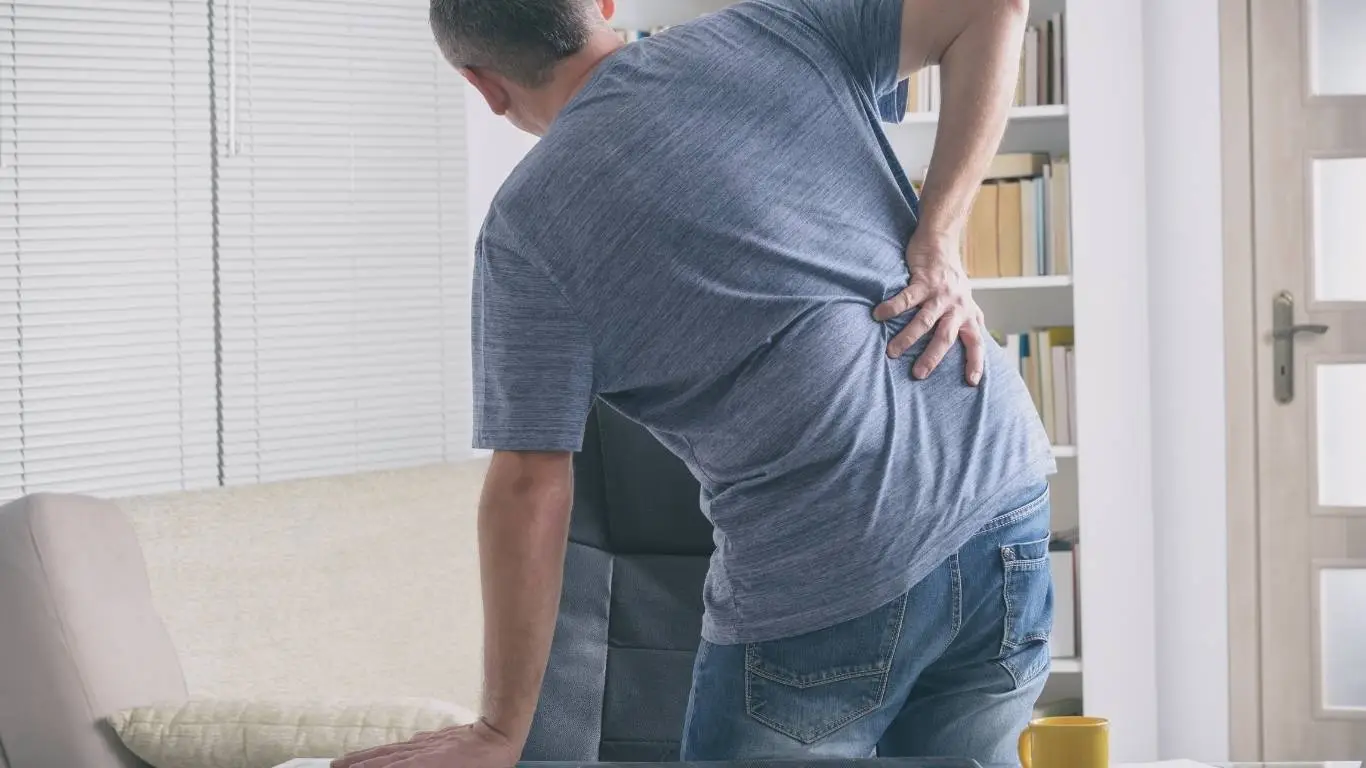
Foam rolling for back tension relief? Yep, I’ve been there. After long hours hunched over my laptop or a terrible night’s sleep on a hotel bed, I used to wake up with a stiff, nagging ache in my back that wouldn’t budge. Stretching helped, but it wasn’t until I started using a foam roller regularly that I really felt the tension melt away. It felt weird at first — like giving yourself a massage that’s just the right mix of torture and therapy — but once you learn how to do it right, it’s a game-changer.
How Foam Rolling Helps Ease Back Tension

Let’s get real: our backs carry the burden of pretty much everything — bad posture, sitting too much, even stress. Foam rolling works by applying pressure to trigger points or “knots” in your fascia, that connective tissue around your muscles. This pressure helps increase blood flow, ease tightness, and reduce inflammation.
Myofascial Release: The Magic Behind Foam Rolling
Myofascial release is the fancy name for what foam rolling does. When you roll over a tight area, you’re helping to loosen the fascia that might be strangling your muscles. Think of it like ironing out wrinkles in a shirt — but your body is the shirt, and tight fascia is the wrinkle.
According to clinical studies, foam rolling can significantly reduce muscle soreness and improve flexibility. And here’s the kicker — it’s not just for athletes. Office workers, busy parents, weekend hikers… anyone can benefit.
Back Tension: Upper, Middle, or Lower?
Back tension isn’t one-size-fits-all. Some of us carry stress in our upper back and shoulders, others feel it deep in the lower back after hours of driving or standing. Foam rolling can target each area differently — but not all techniques are created equal.
If your tension comes from poor posture or prolonged sitting, you might want to check out this resource on how sitting wrecks your spine.
Upper Back Foam Rolling Techniques
This is the sweet spot for most people. If you sit a lot or carry stress like a backpack full of bricks, this is where you’ll want to start. I like to lie on the foam roller horizontally and slowly roll from just below the neck to the bottom of the shoulder blades. No need to go fast — in fact, the slower the better.
- Keep your core engaged to avoid straining your lower back.
- Support your head with your hands.
- Pause on tight spots for 20-30 seconds — breathe through the discomfort.
Bonus: Foam rolling here often gives a subtle crack that feels oddly satisfying. Kind of like when you stretch and your spine “thanks” you. For more structured treatments, this guide on upper back pain treatment is worth a look.
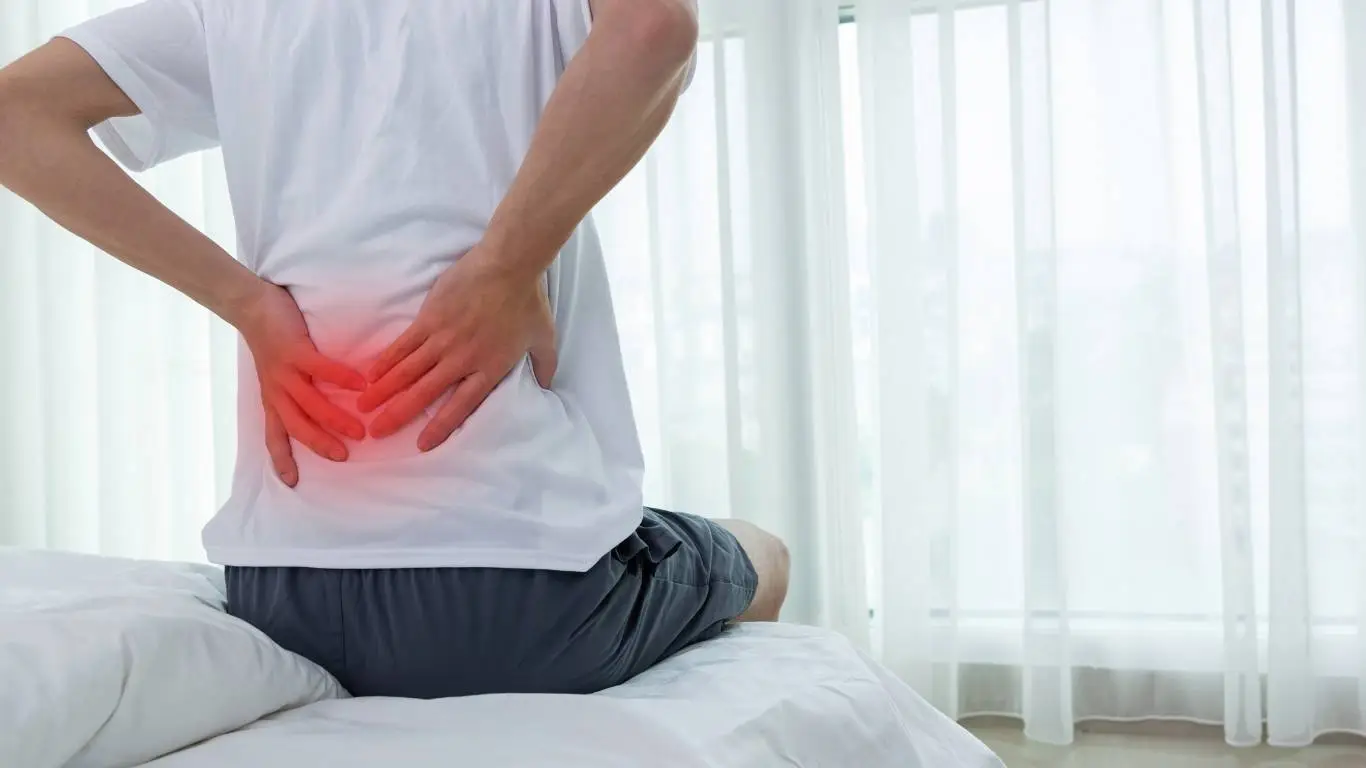
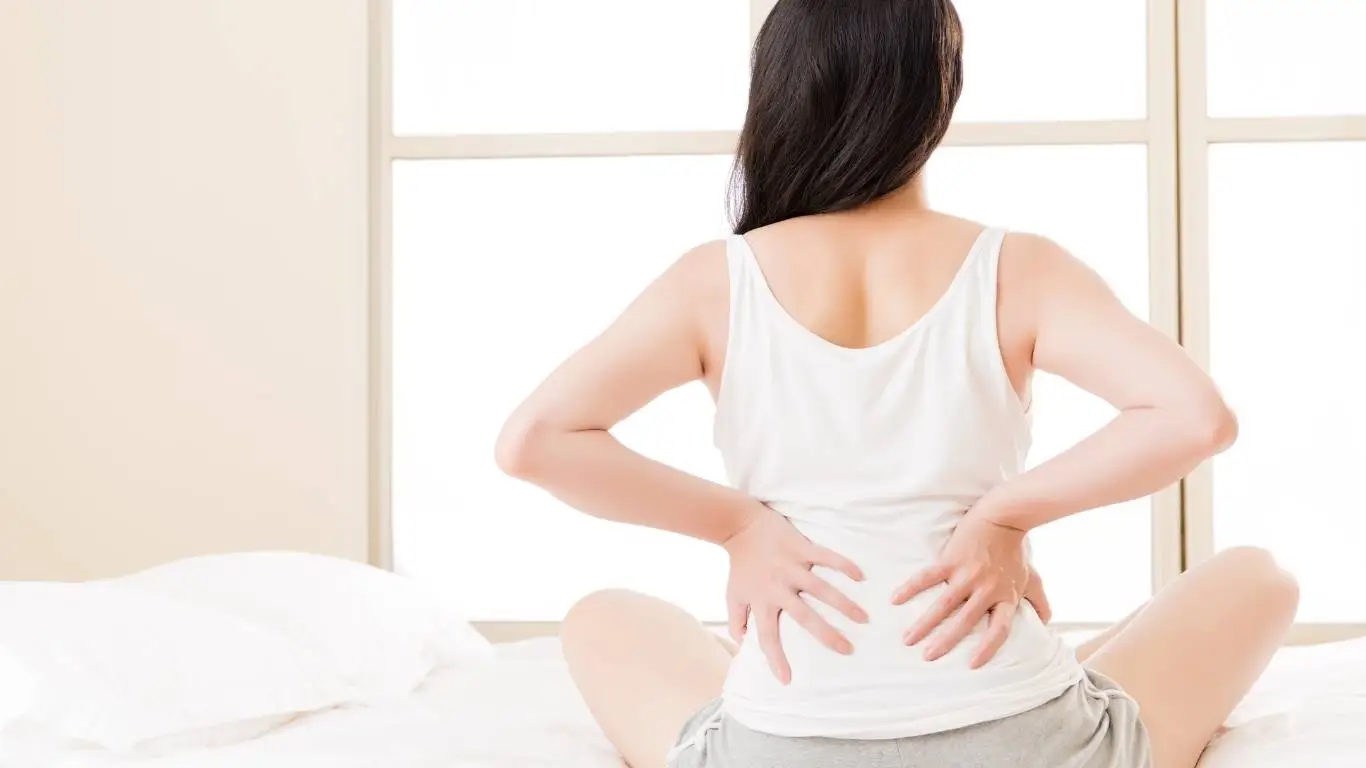
Lower Back: Do It Safely

Now, here’s where I hit a learning curve. Rolling directly on the lower back can do more harm than good. Why? Because there’s not a lot of muscle padding there, and the spine doesn’t like direct pressure.
Instead:
- Roll the glutes and hips first — tension here often pulls on the lower back.
- Focus on the thoracolumbar fascia — that thick tissue above the lower back.
- Use a softer roller or even a tennis ball if you’re just starting out.
If you’re feeling that deep lumbar ache, take a look at herniated disc issues or even muscle strain recovery tips. Don’t push through sharp pain — that’s not what foam rolling is for.
Middle Back and Between the Shoulder Blades

Ever feel like someone’s stabbing you between the shoulder blades? That’s mid-back tension, often from slouching or screen time. Foam rolling here can feel like a deep tissue massage if done right.
Here’s my go-to:
- Start just below the shoulder blades and roll up toward the top of your shoulders.
- Cross your arms in front of your chest to open up the scapula area.
- Stop on sore spots and let the roller “melt” the tension.
Learn more about pain between shoulder blades and what it might mean if the rolling doesn’t help.
When Foam Rolling Isn’t Enough

Foam rolling is awesome — but it’s not magic. Sometimes, the back tension has deeper roots like scoliosis, spinal stenosis, or even nerve-related issues. If you’ve been rolling consistently and not feeling better, it might be time to dig deeper.
This deep-dive on types of back pain and anatomy explains how not all back pain is created equal. And of course, always check with a physical therapist or chiropractor if something feels off. I once tried to “roll out” what turned out to be a pinched nerve — lesson learned.
Adding Foam Rolling to Your Routine

Here’s how I keep foam rolling simple and consistent (because let’s face it, habits only stick when they’re easy):
- Morning routine: 5 minutes of gentle rolling wakes everything up.
- After workouts: Especially leg day — rolling the glutes saves my back.
- Pre-bed wind-down: Loosens up tight muscles from the day.
Also worth exploring: how combining yoga and stretching can enhance your foam rolling game. I do a short yoga sequence after foam rolling, and it makes a huge difference.
For more in-depth guidance on integrating movement, rehab, and posture into your daily habits, check out our rehab and ergonomics pillar and the main back pain resource.
Common Mistakes to Avoid When Foam Rolling
Alright, let’s talk blunders — because I made a ton when I first started. Foam rolling *seems* straightforward, but it’s easy to get wrong. And if you’re doing it wrong, you might be wasting time… or worse, irritating your back even more.
Rolling Too Fast
This one’s super common. I used to zip back and forth on the roller like I was in a rush. Turns out, speed isn’t your friend here. Slow, controlled movements help identify tight areas and give your muscles time to release. Think of it like meditating for your muscles — chill pace, deep breaths.
Rolling Directly on the Spine or Lower Back
Big no-no. Rolling directly over your spine, especially your lower back, can apply unsafe pressure to vertebrae and cause irritation. Instead, support the area by focusing on surrounding muscle groups. Foam rolling the glutes, hips, and mid-back offers indirect relief to the lower back safely.
Need deeper insight? The article on muscle strain recovery has great reminders about pacing and proper form.
Ignoring Pain Signals
Let me be clear: foam rolling isn’t supposed to feel like sunshine and rainbows, but sharp pain is a red flag. Don’t “push through” discomfort that feels wrong. That tender knot in your upper back is one thing — searing nerve pain is something else entirely.
It’s crucial to recognize when your body’s saying “enough.” Check out the resource on back pain red flags if something feels suspicious.
Tools and Foam Roller Types That Actually Work

Shopping for a foam roller can be oddly overwhelming. So. Many. Options. Here’s what I’ve tried (and what worked best):
- Standard smooth rollers: Best for beginners and sensitive backs.
- Textured rollers: Mimic deep tissue massage; good for stubborn knots.
- Half rollers: Perfect for balance or stability training; great for posture too.
- Massage balls or peanut-shaped rollers: Ideal for targeting tight spots between shoulder blades.
I keep a soft roller at my office and a textured one at home. And for travel? Lacrosse ball all day. It’s a pocket-sized lifesaver.
Also, the guide on mobile apps for back pain might help you stay consistent with routines — especially if you need reminders or guided sessions.
Best Times to Foam Roll for Maximum Relief

Timing matters. When you foam roll can affect how effective it feels. Here’s what’s worked best for me — and for a few friends who’ve adopted this habit too:
- Before workouts: Warms up muscles and preps fascia for movement.
- After workouts: Helps reduce soreness and improve recovery.
- Evenings: Helps unwind tight muscles and transition into sleep mode.
It also pairs incredibly well with recovery tools like massage guns or warm compresses. If you’re in colder climates, this piece on winter back pain triggers is worth a scan.
Complementary Techniques That Boost Foam Rolling Benefits
Foam rolling is just one part of the relief equation. Pairing it with other strategies magnifies the results — and honestly, keeps things interesting.
Stretching After Rolling
Foam rolling preps the muscles. Stretching lengthens them. I usually follow up with basic yoga stretches — child’s pose, cat-cow, spinal twists — to lock in the looseness. This combo seriously reduced my morning stiffness.
Core Strengthening
Strong core = happy back. Without proper core engagement, your back takes the brunt of daily stress. Try planks, bridges, and pilates-based moves. Pilates for back health is totally underrated.
Posture Fixes and Ergonomics
If your desk setup is working against you, no amount of rolling will save your spine. Upgrade your office chair, use lumbar support, and consider a standing desk. The ergonomics pillar has a goldmine of practical fixes.
When to See a Specialist

Let’s keep it honest — if foam rolling hasn’t helped after a few weeks or if pain worsens, it’s time to consult a pro. There could be underlying issues like disc herniation, nerve compression, or joint dysfunction.
Articles like MRI evaluation for back pain and nerve studies for sciatica offer a glimpse into next steps if things don’t improve with conservative care.
Also, never hesitate to explore manual therapy. I’ve personally had success combining foam rolling with osteopathic manipulation — the results were faster and longer-lasting.
Making Foam Rolling a Lasting Habit

The key to foam rolling success? Consistency. I used to treat it like a last resort. Now, it’s part of my weekly wellness ritual — kind of like brushing my teeth, but for my spine. Here’s how to make it stick:
- Leave your roller where you’ll see it (I keep mine by the couch).
- Stack it with existing habits (right after brushing teeth or before Netflix).
- Make it feel good — roll to calming music or in low lighting for spa vibes.
Combine foam rolling with smarter movement habits, supportive gear, and ergonomic tweaks for sustainable relief. The resource on natural remedies and lifestyle changes is full of long-term tips you’ll actually want to follow.
And if you’re new here or just exploring deeper solutions, don’t miss the main back pain guide — it connects the dots between symptoms, causes, and what actually helps.

Camellia Wulansari is a dedicated Medical Assistant at a local clinic and a passionate health writer at Healthusias.com. With years of hands-on experience in patient care and a deep interest in preventive medicine, she bridges the gap between clinical knowledge and accessible health information. Camellia specializes in writing about digestive health, chronic conditions like GERD and hypertension, respiratory issues, and autoimmune diseases, aiming to empower readers with practical, easy-to-understand insights. When she’s not assisting patients or writing, you’ll find her enjoying quiet mornings with coffee and a medical journal in hand—or jamming to her favorite metal band, Lamb of God.